
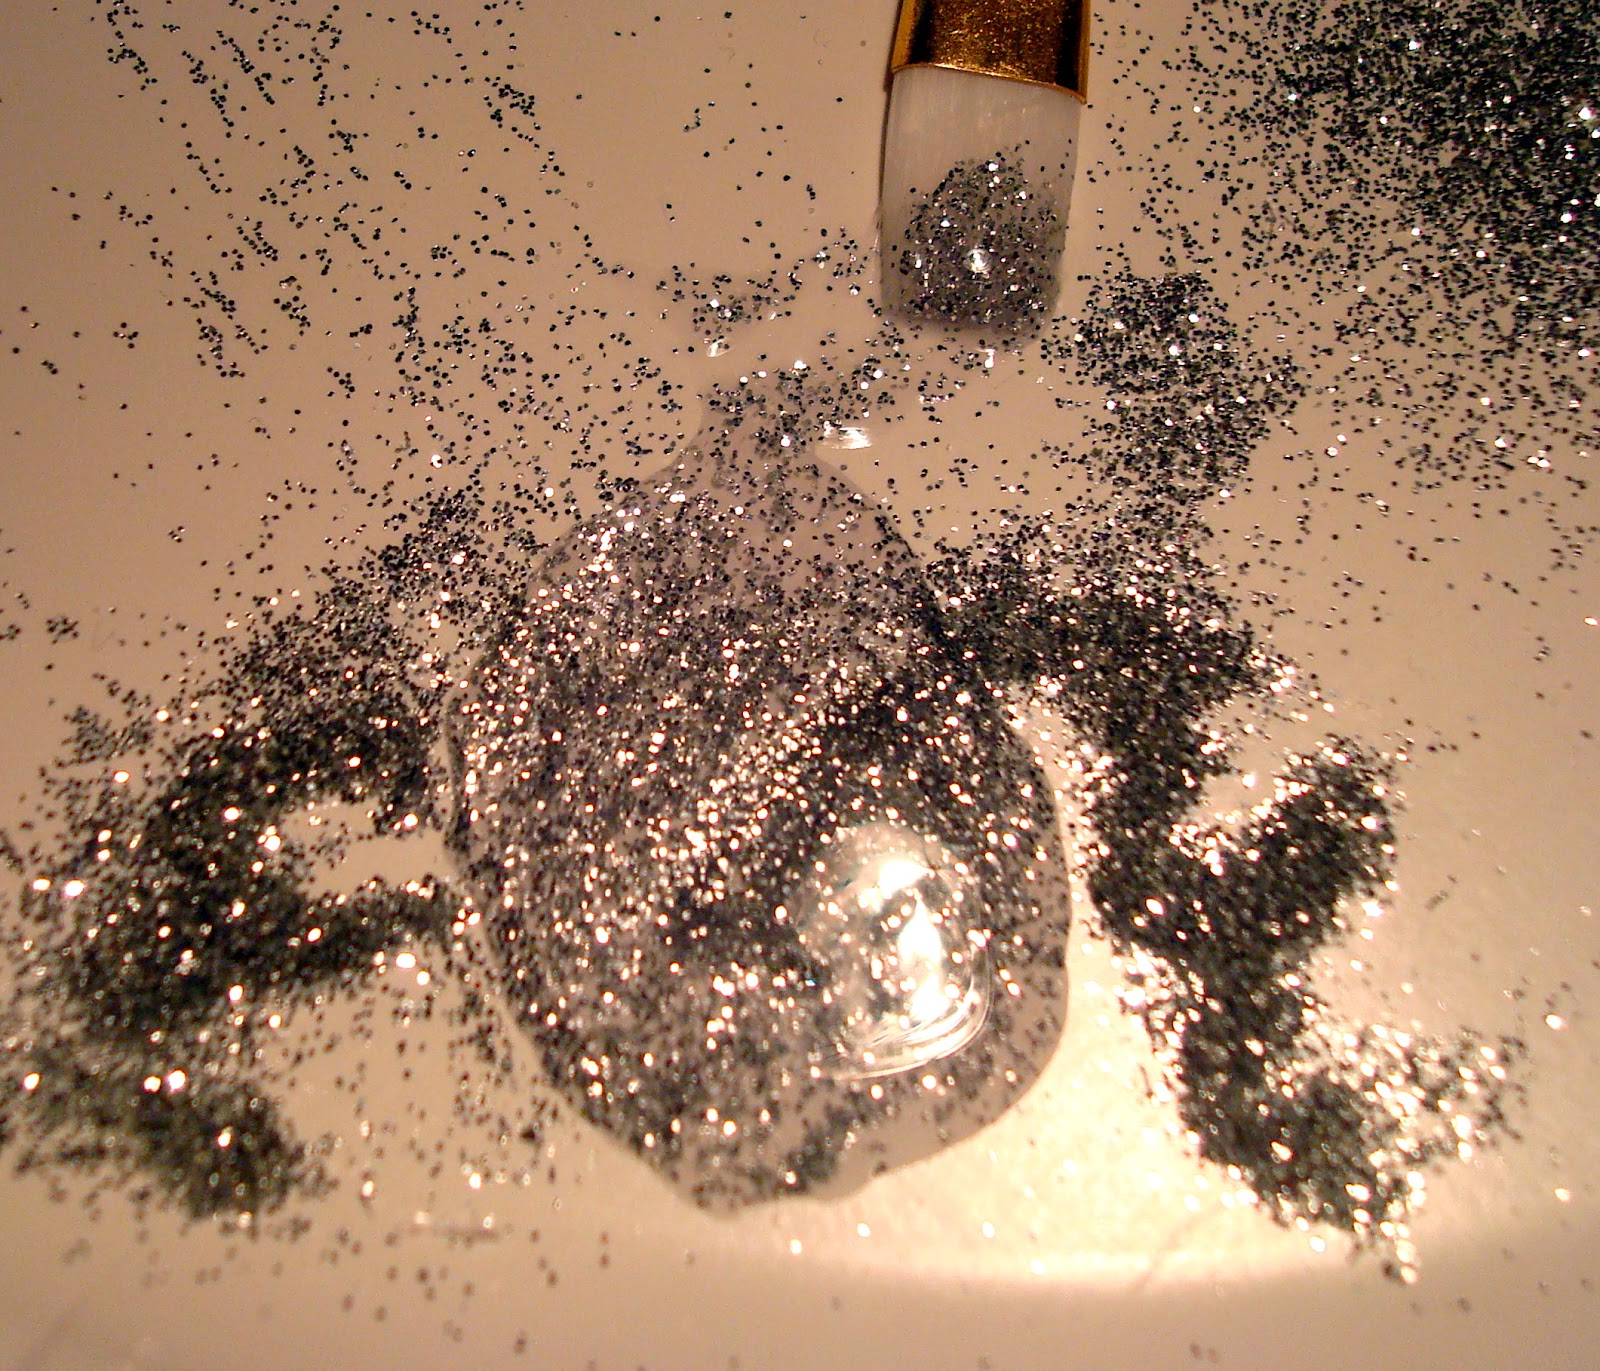
This is the type of glitter that I like to use. I purchased these glitters from Michaels a while ago and they also come in "fine," but i find that I like smaller glitters when I do nails, so I chose to go with "extra fine." For the nail looks that I am going to show you today, I used the silver glitter.

Here's a picture of everything I used to create the three looks.
For the base color of each nail art look, I used Butter London's Lady Muck which is a pearly greyish light blue. I absolutely love the formulation of Butter London nail lacquers. They go on smooth without any streaking and they dry with a good shine.
Look #1: The Standout

Having one nail (typically the ring finger) different than the rest of the nails is something that I have been seeing a lot of lately, so here is a nail art look that follows that trend.
What you'll need:
-the "base" color (In my case Lady Muck, but you can use any color you want)
-a silver nail polish (if you use any other color glitter, use the same color nail polish. For instance, if you want to use a purple glitter then this color would need to be purple)
-silver glitter (or any color glitter you want)
-a good topcoat (I used Sally Hansen Insta-Dri which is my favorite top coat ever)
-a paper plate to catch the glitter
Step 1:

Paint your pointer, middle, pinky, and thumb so that the polish is opaque. Be sure to let your nails dry completely before you move on to the next step so that when the glitters are added, they don't accidentally stick to these nails.
Step 2:

Paint your ring finger silver (or a color that matches the glitter). It's important to use the same color as the glitter because the glitter won't completely cover every single part of your nail, but having the same color underneath will make it seem like it does in fact cover your whole nail.
Step 3:

This is where you're going to want to work fast. Before the nail polish underneath dries, sprinkle enough glitter on your nail to cover it.
Step 4:
Wait for the polish to dry completely. Once it is done drying, rinse your fingers under running water so that the excess glitter is removed from your finger.
Step 5:
Add your favorite top coat on all of your nails to seal in the color and glitter.
Look #2: The Geometric Gem

This is what it is will end up looking like without a topcoat. With a topcoat, this look looks better and lasts longer. You can obviously do this on all of your nails, but since I was trying to create 3 different looks for this tutorial, I just did my thumb.
What you'll need:
-the base color
-silver polish
-silver glitter
-scotch tape
-a topcoat
-a paper plate
Step 1:
Paint all of your nails so that the polish is completely opaque. Let this polish dry completely so that when you move on to taping, the tape does not ruin the texture of the polish
Step 2:

Tape off a section of your nail. Feel free to be creative with this. You can tape off just your tips like a french manicure or you can make a chevron design...anything really!
Step 3:

Using the silver polish, paint over the area where you want the glitter to be.
Step 4:

Before the silver polish dries, sprinkle the glitter on so that it covers the desired area. Use the paper plate to catch the excess glitter.
Step 5:
Wait until the silver nail polish has dried completely. When it is dried, run your fingers under water so that the excess glitter is washed away.
Step 6:
Slowly peel the scotch tape off of your nails & add a topcoat!
Look #3: Glitter Gradient

This is probably my favorite of the three styles. I love things that are ombred, so why not do it to nails!
What you'll need:
-The base color
-silver glitter
-a clear nail polish (I used Crystal Clear by Petites. It was really cheap and I got it at WalMart)
-a paintbrush that is almost as wide as your nail (you'll see it in the pictures)
-a paper plate to mix the glitter with the polish
Step 1:
Paint your nails with the base color so that the color is opaque.
Step 2:
Pour some glitter onto the paper plate and also pour a dime-sized dot of the clear nail polish over it. Mix the two together. At first, you do not want to add a lot of glitter into the mixture. For the next couple of steps, you are going to want to work somewhat quickly so that this mixture does not dry out or get tacky
Step 3:

On 3/4 of your nail, paint a single layer of the glitter/nail polish mixture using the paintbrush.
Step 4:
Mix some more glitter into the polish and paint another layer on the nails but concentrating it more towards the tips this time (maybe like the last 1/2 of your nail).
Step 5:
Dip your paintbrush into some loose glitter (w/o the clear polish) and lightly press the glitter onto the very tip of your nail so that at the tip, the glitter is most concentrated.
Step 6.:
Wait for all of the polish to dry and then add your favorite top coat over the nails.
You can get creative with all three of these styles. Change up the base color, the glitter color, you can also mix glitter colors together!
Well I hope that you enjoyed my nail tutorials! I'm going to hopefully be doing a lot more tutorials from now on!
-amy gat
No comments:
Post a Comment