Tuesday, May 29, 2012
Monday, May 28, 2012
Favorite Frosting
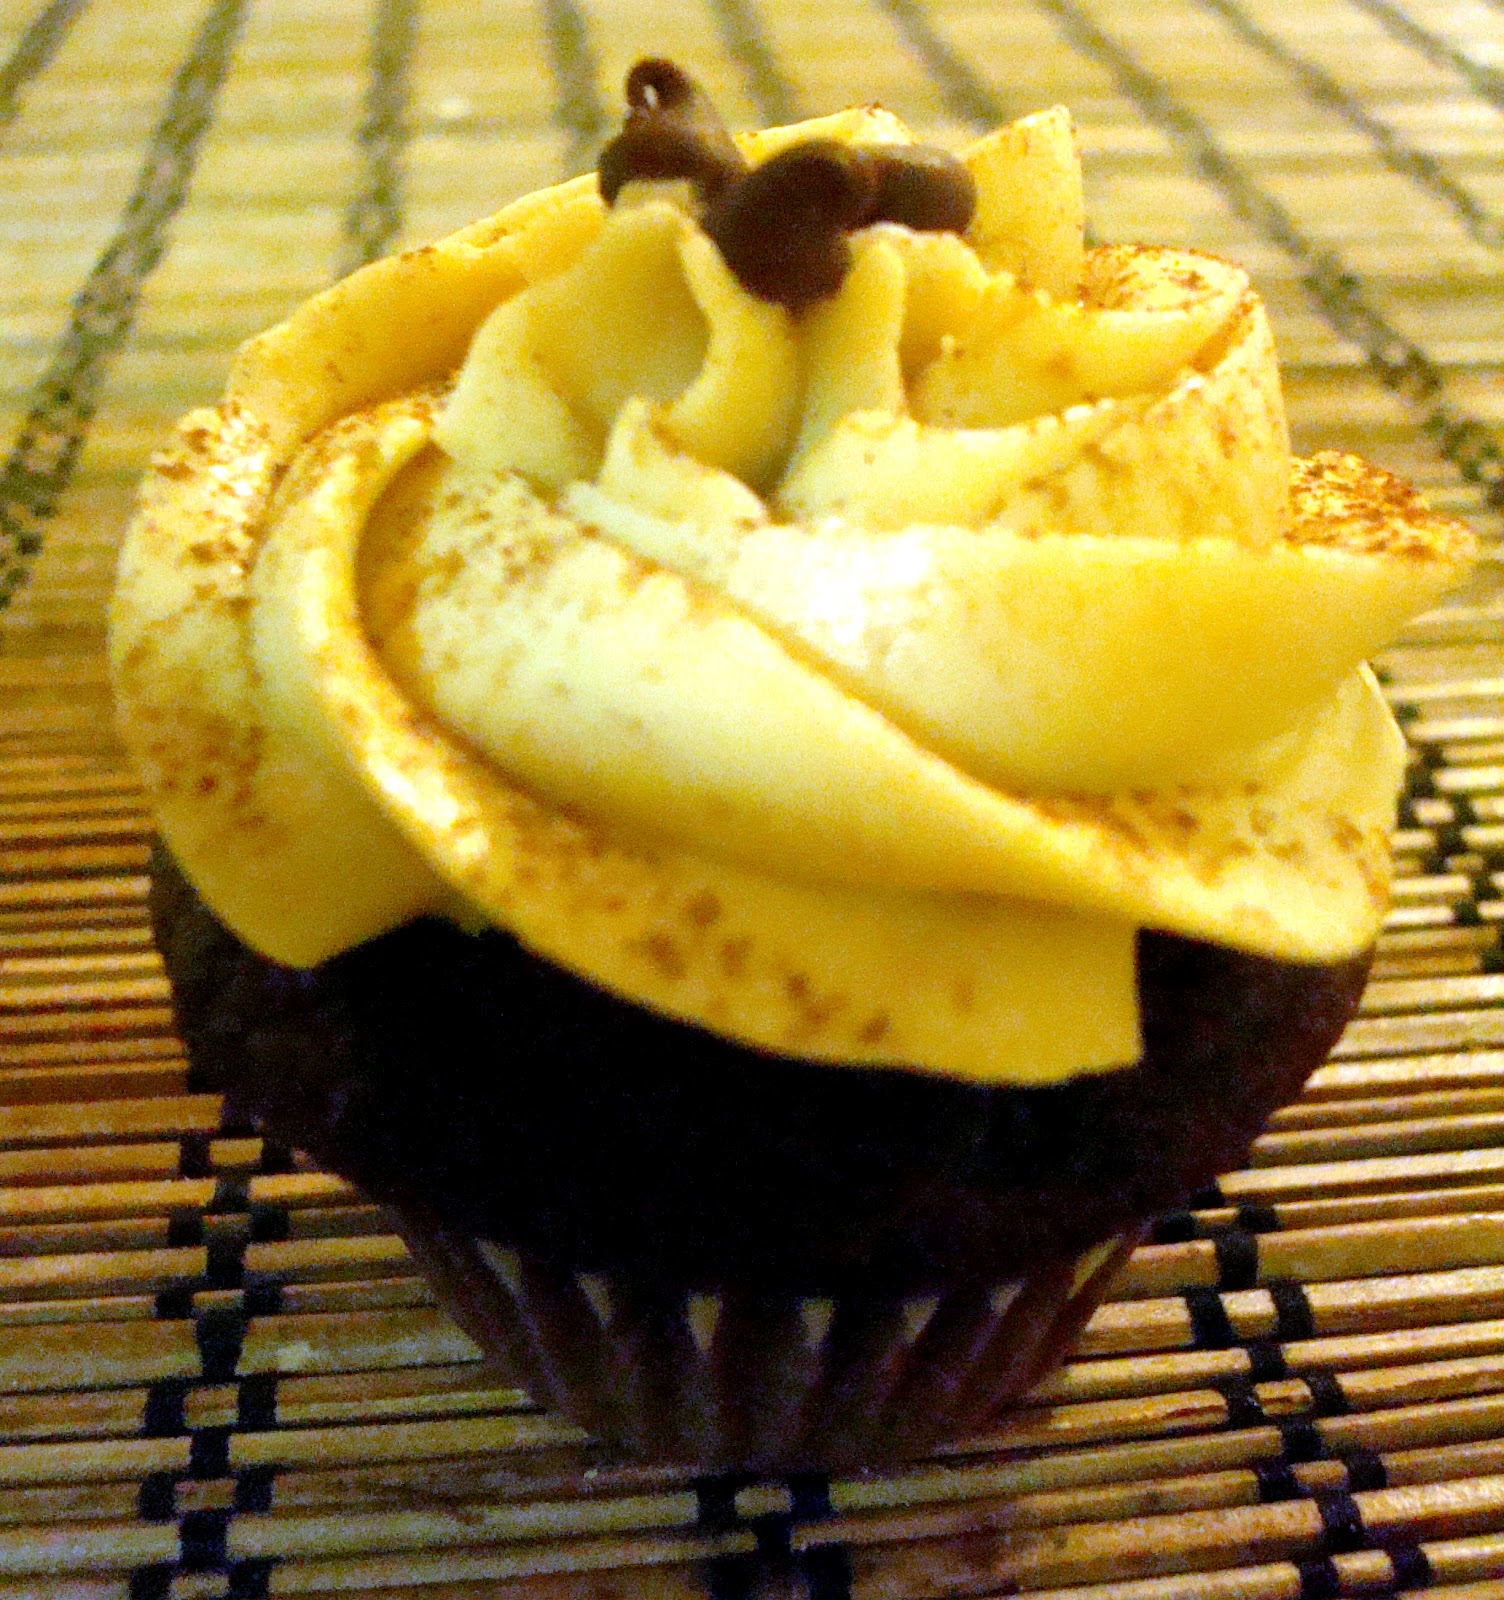
Also, before I get into it...This recipe doesn't make a lot of frosting because I usually don't make a ton of cupcakes at one time. It will probably make enough for about 6 regular sized cupcakes or probably 16 mini cupcakes. So if you know you're going to be making more cupcakes, then double, triple, quadruple, etc.
Ingredients:
2 egg whites
1/2 cup sugar
1 stick room temperature butter, cubed
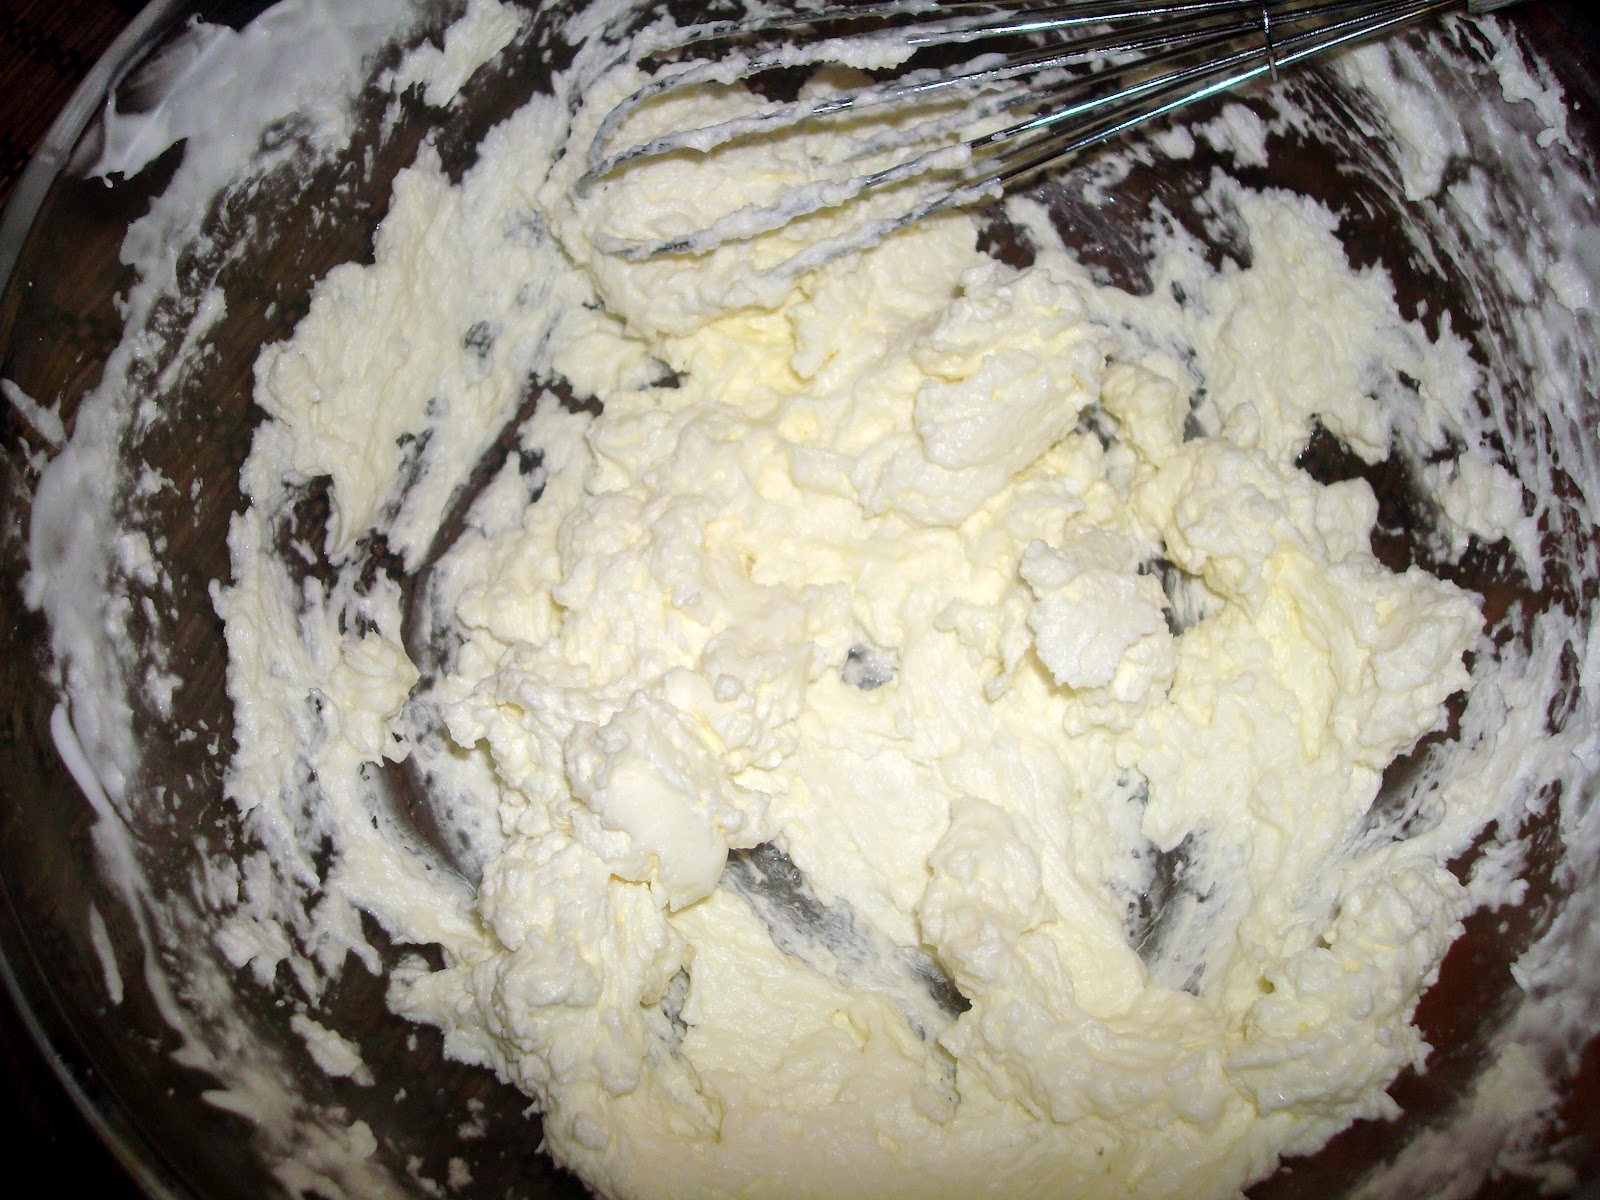
1. Place a glass bowl on a boiling pot of water (make a double boiler)
2. Whisk egg whites and sugar together in the glass bowl. Heat until egg mixture is hot to the touch. Remove from heat. **Another way to tell if the egg mixture is ready is to rub the mixture between your fingers, if it feels smooth (not gritty) then it is ready.
3. Continue to whisk the mixture off of the heat until the mixture has thickened and completely cooled.
4. Add butter a little at a time. Keep whisking until the mixture has reached a sturdy consistency.
5. Add whatever flavoring you would like the frosting to be (vanilla, chocolate, coffee, etc.)
 |
| Step 1 |
 |
| Step 2 |
 |
| Step 2 |
 |
| Step 3 |
 |
| Step 4 |
Friday, May 25, 2012
Healthy Snacks & Healthy Alternatives
Whenever a new semester rolls around I tend to promise myself that I'm going to try to eat healthier and exercise more often. So in honor of my new health kick, I thought I'd do a blog post about the healthy snacks that I like to eat. Hopefully this gives you ideas for snacks that are both healthy and delicious.
Veggies and Greek Yogurt Dip:
I love eating celery and carrots, but eating them without something to dip them in is really hard for me. Vegetable dips tend to have a lot of calories because of all of the sour cream and mayo that is in them, but there is a healthier alternative...
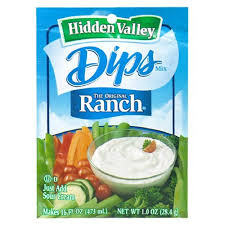
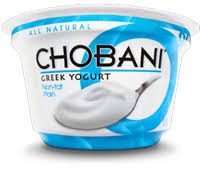
I like to combine Hidden Valley Dip mix (it comes in a packet) with 0% plain Greek yogurt. I usually buy a 6oz cup of yogurt and mix it with about 1/5th of the ranch mix packet, but you can use more or less ranch depending on what you like. Hidden Valley also has a few flavors to choose from so if you're not a fan of plain ranch they have Fiesta Ranch, Dill, etc.
This combination is still creamy and flavorful, but without all of the calories of a regular veggie dip. One package of 0% greek yogurt has 100 calories in it. You can also use this as a salad dressing if mixed with a splash of skim milk.
Trisciuts with Cheese and Pepperoni:
Here's a twist on crackers and cheese that is healthier and to me, more filling...
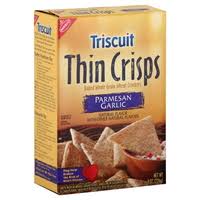

 I like to use Triscuits Thin Crisps because I feel like they fill me up more than a normal cracker. I usually buy the parmesan garlic flavor because I've never been one to buy "original."
Laughing Cow cheeses are so good! I would totally recommend these because one wedge is 35 calories but it is so creamy and delicious and you can buy them in a good amount of different flavors. Laughing cow cheese wedges are also really versatile...i use them in pasta dishes and as a spread on sandwiches instead of a slice of cheese.
Hormel Turkey Pepperoni is also a good alternative to regular pepperoni. It has 70% less fat and you can have 17 slices for only 70 calories. To be completely honest, I think Hormel Turkey Pepperoni tastes just as good as regular pepperoni.
Special K Products:
Special K products are somethings that I am sort of rediscovering and loving. I used to eat the cereal bars all the time and I don't know why I ever stopped. They have less calories than a granola bar and in my opinion they taste better. I love Special K cereal bars because they're really convenient especially for those who just like to get up and go. I usually just eat these on the bus on my way to campus. My favorite flavor is raspberry cheesecake.
Special K Cracker Chips are a really great alternative to regular potato chips. The serving is 27 chips which is more than enough for me and in 27 chips, there are only 110 calories. When comparing these to other types of chips, you can eat more while consuming less calories (which makes Cracker Chips a winner in my book)...and I almost forgot to mention...they taste really good too!
Teavana's Raspberry Riot Lemon Mate with German Rock Sugar:
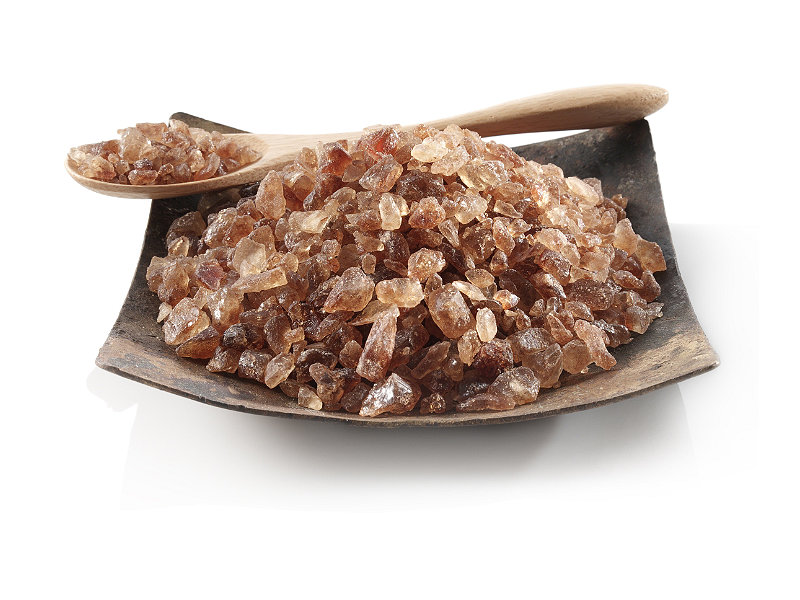
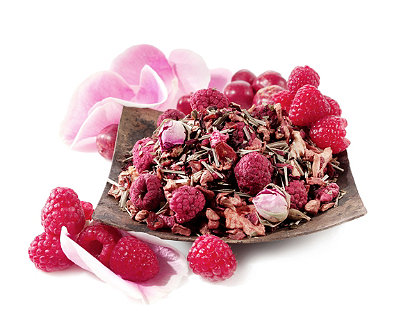
I love Teavana teas. They can be pricey for teas, but I feel like they are worth it. The Raspberry Riot Lemon Mate is a great alternative to super sugary raspberry lemonades. This is good served hot or over ice and it has very few calories (4 i think) if you drink it without rock sugar. The rock sugar (also from Teavana) is a good sweetener to use in teas because it is more natural than regular sugar and it also has only 25 calories per teaspoon.
Veggies and Greek Yogurt Dip:
I love eating celery and carrots, but eating them without something to dip them in is really hard for me. Vegetable dips tend to have a lot of calories because of all of the sour cream and mayo that is in them, but there is a healthier alternative...
This combination is still creamy and flavorful, but without all of the calories of a regular veggie dip. One package of 0% greek yogurt has 100 calories in it. You can also use this as a salad dressing if mixed with a splash of skim milk.
Trisciuts with Cheese and Pepperoni:
Here's a twist on crackers and cheese that is healthier and to me, more filling...
Laughing Cow cheeses are so good! I would totally recommend these because one wedge is 35 calories but it is so creamy and delicious and you can buy them in a good amount of different flavors. Laughing cow cheese wedges are also really versatile...i use them in pasta dishes and as a spread on sandwiches instead of a slice of cheese.
Hormel Turkey Pepperoni is also a good alternative to regular pepperoni. It has 70% less fat and you can have 17 slices for only 70 calories. To be completely honest, I think Hormel Turkey Pepperoni tastes just as good as regular pepperoni.
Special K Products:
Special K products are somethings that I am sort of rediscovering and loving. I used to eat the cereal bars all the time and I don't know why I ever stopped. They have less calories than a granola bar and in my opinion they taste better. I love Special K cereal bars because they're really convenient especially for those who just like to get up and go. I usually just eat these on the bus on my way to campus. My favorite flavor is raspberry cheesecake.
Special K Cracker Chips are a really great alternative to regular potato chips. The serving is 27 chips which is more than enough for me and in 27 chips, there are only 110 calories. When comparing these to other types of chips, you can eat more while consuming less calories (which makes Cracker Chips a winner in my book)...and I almost forgot to mention...they taste really good too!
Teavana's Raspberry Riot Lemon Mate with German Rock Sugar:
I love Teavana teas. They can be pricey for teas, but I feel like they are worth it. The Raspberry Riot Lemon Mate is a great alternative to super sugary raspberry lemonades. This is good served hot or over ice and it has very few calories (4 i think) if you drink it without rock sugar. The rock sugar (also from Teavana) is a good sweetener to use in teas because it is more natural than regular sugar and it also has only 25 calories per teaspoon.

Tuesday, May 22, 2012
Dip-Dyed Ombre Scarf

When I was at home, my sister and I decided we wanted to make cute summery scarves. We both love crafting and so we figured it would be a fun and easy DIY project that we could do together. The scarves actually turned out really well! I was surprised at how cute these scarves ended up.
We bought two yards of a really inexpensive chiffon fabric while we were in the city and it was enough fabric for each of us to make a scarf. The dye we used was the brand Rit from Michael's and I was pleased with the color payoff of the dye.
 |
 |
| My sisters scarf is the one in the foreground and mine is the one that is farther away |
Sunday, May 20, 2012
Weekly Favorites
Hey! I've not been able to write a ton of blogs during the past week because I've been at home in Illinois. Now that I'm back in Orlando I'm going to have more time on my hands so I'll be sure to post more often.
Here are this week's (and last week's) weekly favorites:


Here are this week's (and last week's) weekly favorites:
Favorite Blush:
NYX Rouge Cream Blush
I love cream blushes for summer because they tend to last longer especially when the weather is hot and muggy. The color that I have been using is 09 Orange and I absolutely love it on my skin tone. My sister purchased the Hot Pink one so I got to try that one out and I also love that color.
Favorite Movie:
My mom, sister, and I watched this movie on Mother's day and It was sooo good. I really recommend seeing this movie. I usually don't like movies that aren't funny (not saying that this one doesn't have it's funny moments, but its not a comedy), but I really liked this!
Favorite YouTube Channel:
I don't usually have time to watch The Ellen Show on TV, but if I did, I would watch everyday. I adore Ellen. I think she's one of the funniest women comedians out there. I make my boyfriend, Ty, watch her videos with me all the time. Everyone should subscribe to her channel because who doesn't want a good laugh?
Favorite Tasty Treat:
Molly's Cupcakes
2536 N. Clark St.
Chicago, IL
I pretty much beg my sister to take me here every time I'm home. They have the best cupcakes that I've ever tasted (I think it's because of the frosting). This time around I had the strawberry shortcake cupcake. It was vanilla cake with strawberry filling and vanilla buttercream. Yum.
Favorite TV Show:
Parks and Rec! The season just ended and the finale was so good. Easily one of my favorite shows of all time because I love the kind of humor that this show has.
Favorite Handbag Designer:
I love her M.A.C. Clutches. I love how these bags have the chain detailing. I can't quite afford to own one yet, but one day I will.
Favorite Place I Would Love to Visit One Day:
Kennebunkport, Maine.
Tuesday, May 8, 2012
DIY Wire Rings
The other day I was browsing Pintrest and I came across a pin for a DIY heart ring. It was seriously so cute and I just had to make it. I will link the blog post right here. I made the heart ring and it turned out really well! I was actually really surprised at how easy it was to make and how much I liked it.


So I was thinking...why stop at just hearts?! I decided to get creative and come up with other ideas for rings. Here's what I came up with:

Pinky: music notes
Ring finger: cursive "Love"
Middle: infinity
Pointer: heart

Here they are off of my fingers

This is probably my favorite one!
- amy gat
Sunday, May 6, 2012
Weekly Favorites
Favorite Laugh:
I got some really good laughs from watching these videos. All three are of people singing the national anthem absolutely horribly. I know that doesn't sound really funny, but you just have to watch them, they're hilarious. I hope you laugh as much as I did.
Watch this next one at least 'til "red glare"
Favorite Youtuber/Blogger:
My favorite person to watch on Youtube at the moment is Allison (or amarixe). She is a beauty guru who does tutorials, reviews, hauls etc. I absolutely love her personality and I really enjoy watching her videos. But not only does she make youtube videos, she also blogs so check her out cause I know you'd love her too!
here is her beauty channel
and this is her blog
Favorite Sweet & Salty Treat:
Chocolate covered pretzels!

Favorite TV Show:
How I Met Your Mother
This actually isn't just a weekly favorite...this show is an alltime favorite of mine. I've been watching this show for a really long time now and I've seen every single episode. Jason Segal is probably my favorite actor and he's absolutely hilarious on the show.

Favorite Recipe:
I made mini carrot cake cupcakes for the first time ever using this recipe. They turned out really well! Sooo delicious!

Favorite Room Fragrance:
I'm obsessed with Wallflowers from Bath and Body Works/Slatkin & Co. Right now my absolute favorite scent is "Sea Spray."

Saturday, May 5, 2012
Glitter Nails!
In my weekly favorites that I posted on Sunday, I mentioned that I love pairing coral nails with glitter. So in today's post, I'm going to be showing you how I use craft glitter to create 3 different nail looks.


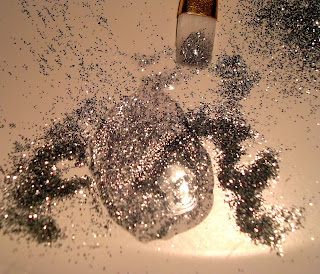


This is the type of glitter that I like to use. I purchased these glitters from Michaels a while ago and they also come in "fine," but i find that I like smaller glitters when I do nails, so I chose to go with "extra fine." For the nail looks that I am going to show you today, I used the silver glitter.

Here's a picture of everything I used to create the three looks.
For the base color of each nail art look, I used Butter London's Lady Muck which is a pearly greyish light blue. I absolutely love the formulation of Butter London nail lacquers. They go on smooth without any streaking and they dry with a good shine.
Look #1: The Standout

Having one nail (typically the ring finger) different than the rest of the nails is something that I have been seeing a lot of lately, so here is a nail art look that follows that trend.
What you'll need:
-the "base" color (In my case Lady Muck, but you can use any color you want)
-a silver nail polish (if you use any other color glitter, use the same color nail polish. For instance, if you want to use a purple glitter then this color would need to be purple)
-silver glitter (or any color glitter you want)
-a good topcoat (I used Sally Hansen Insta-Dri which is my favorite top coat ever)
-a paper plate to catch the glitter
Step 1:

Paint your pointer, middle, pinky, and thumb so that the polish is opaque. Be sure to let your nails dry completely before you move on to the next step so that when the glitters are added, they don't accidentally stick to these nails.
Step 2:

Paint your ring finger silver (or a color that matches the glitter). It's important to use the same color as the glitter because the glitter won't completely cover every single part of your nail, but having the same color underneath will make it seem like it does in fact cover your whole nail.
Step 3:

This is where you're going to want to work fast. Before the nail polish underneath dries, sprinkle enough glitter on your nail to cover it.
Step 4:
Wait for the polish to dry completely. Once it is done drying, rinse your fingers under running water so that the excess glitter is removed from your finger.
Step 5:
Add your favorite top coat on all of your nails to seal in the color and glitter.
Look #2: The Geometric Gem

This is what it is will end up looking like without a topcoat. With a topcoat, this look looks better and lasts longer. You can obviously do this on all of your nails, but since I was trying to create 3 different looks for this tutorial, I just did my thumb.
What you'll need:
-the base color
-silver polish
-silver glitter
-scotch tape
-a topcoat
-a paper plate
Step 1:
Paint all of your nails so that the polish is completely opaque. Let this polish dry completely so that when you move on to taping, the tape does not ruin the texture of the polish
Step 2:

Tape off a section of your nail. Feel free to be creative with this. You can tape off just your tips like a french manicure or you can make a chevron design...anything really!
Step 3:

Using the silver polish, paint over the area where you want the glitter to be.
Step 4:

Before the silver polish dries, sprinkle the glitter on so that it covers the desired area. Use the paper plate to catch the excess glitter.
Step 5:
Wait until the silver nail polish has dried completely. When it is dried, run your fingers under water so that the excess glitter is washed away.
Step 6:
Slowly peel the scotch tape off of your nails & add a topcoat!
Look #3: Glitter Gradient

This is probably my favorite of the three styles. I love things that are ombred, so why not do it to nails!
What you'll need:
-The base color
-silver glitter
-a clear nail polish (I used Crystal Clear by Petites. It was really cheap and I got it at WalMart)
-a paintbrush that is almost as wide as your nail (you'll see it in the pictures)
-a paper plate to mix the glitter with the polish
Step 1:
Paint your nails with the base color so that the color is opaque.
Step 2:

Pour some glitter onto the paper plate and also pour a dime-sized dot of the clear nail polish over it. Mix the two together. At first, you do not want to add a lot of glitter into the mixture. For the next couple of steps, you are going to want to work somewhat quickly so that this mixture does not dry out or get tacky
Step 3:

On 3/4 of your nail, paint a single layer of the glitter/nail polish mixture using the paintbrush.
Step 4:
Mix some more glitter into the polish and paint another layer on the nails but concentrating it more towards the tips this time (maybe like the last 1/2 of your nail).
Step 5:
Dip your paintbrush into some loose glitter (w/o the clear polish) and lightly press the glitter onto the very tip of your nail so that at the tip, the glitter is most concentrated.
Step 6.:
Wait for all of the polish to dry and then add your favorite top coat over the nails.
You can get creative with all three of these styles. Change up the base color, the glitter color, you can also mix glitter colors together!
Well I hope that you enjoyed my nail tutorials! I'm going to hopefully be doing a lot more tutorials from now on!
-amy gat
Tuesday, May 1, 2012
Subscribe to:
Posts (Atom)